 At Home
The Renos – Part I
This is a long awaited post that will outline the home renovations completed a few years ago. Posting about it never occurred to me at the time, as I didn’t think anyone other than us might be interested, but it’s a story that can be told, so why not? I mean, I took enough pictures, and there are lots of posts of other renos… So, without further adoo…
During the summer of 2014 I renovated the entire main floor of our house, beginning with the living-room and hallway and progressing one room at a time until complete. The house was built in 1968, and is typical of that era with mahogany doors and trim, sparkly stucco ceiling, and carpet and tiles for flooring.
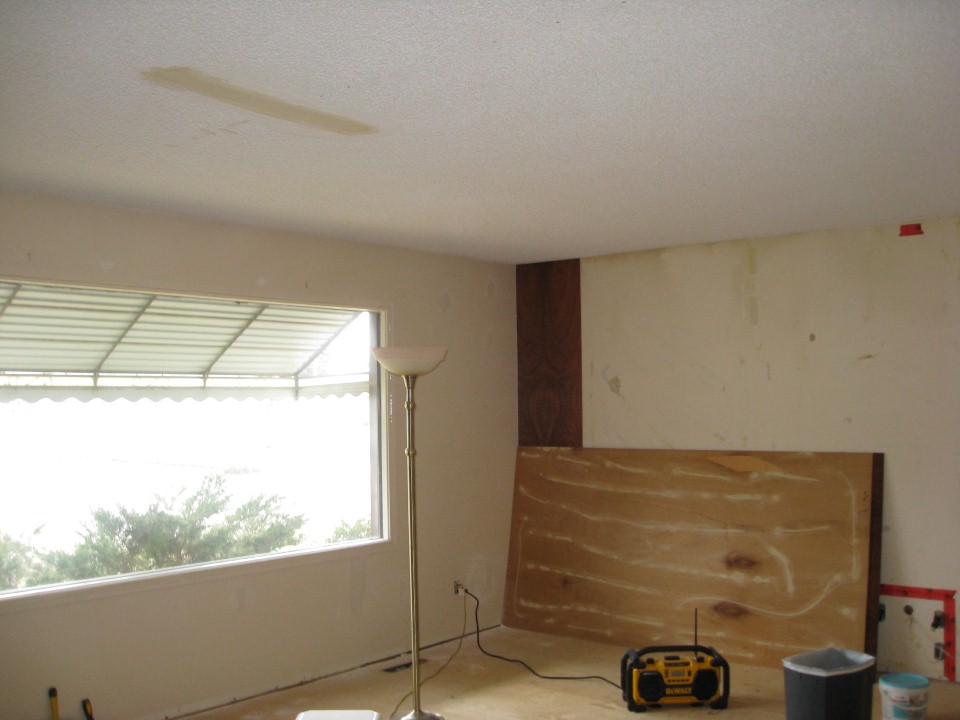
The hole in the living room wall (below left) was my first ever home renovation. It was relatively simple, and made such a difference to the feel of the house, it was only money and time that kept me from continuing at that time. I don’t have a ‘before’ shot for every room, but each room received a similar treatment, and I think you’ll get the idea.
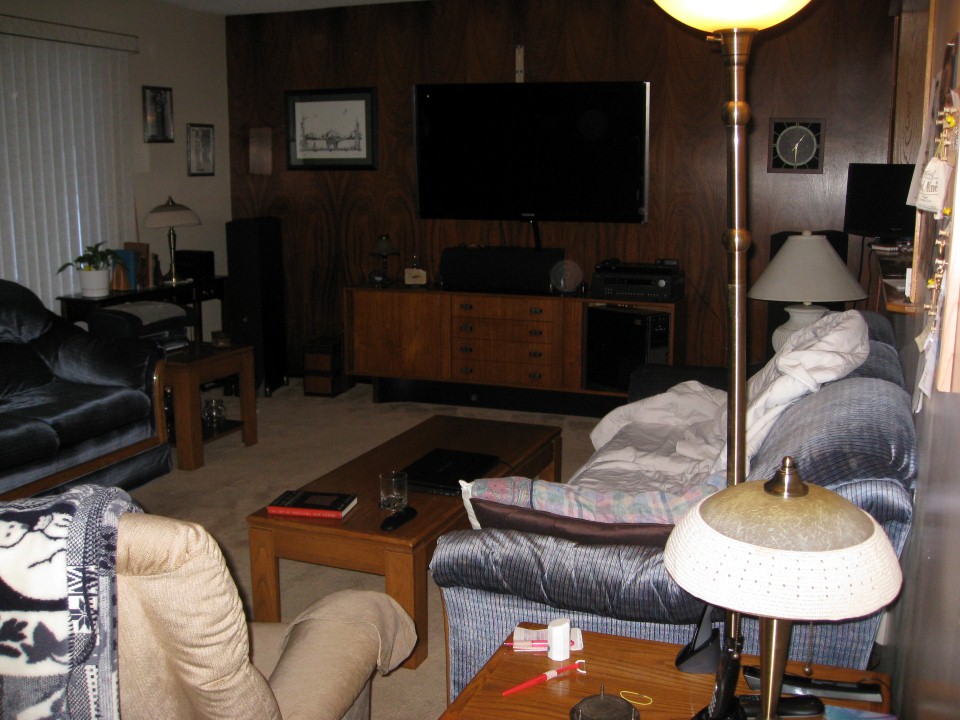
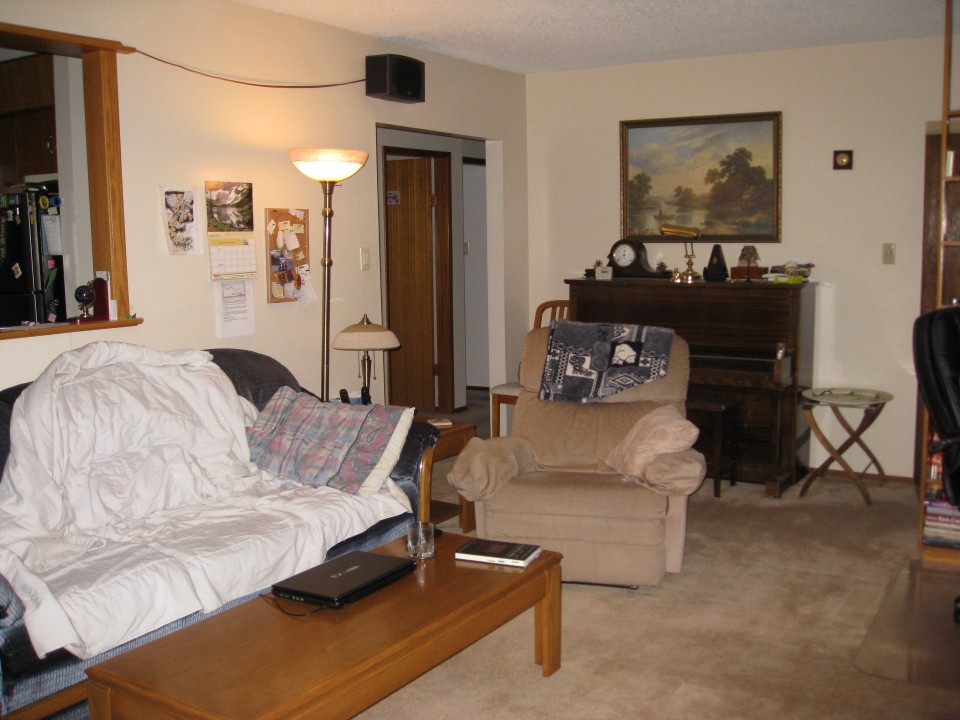
Before…
After…. Laminate flooring, baseboards, paint, knock-down ceiling, with the later two having the greatest overall effect.

Even at a thousand words, pictures are still a shorthand description of the efforts taken to remove the annoyances every house shows you over the years.
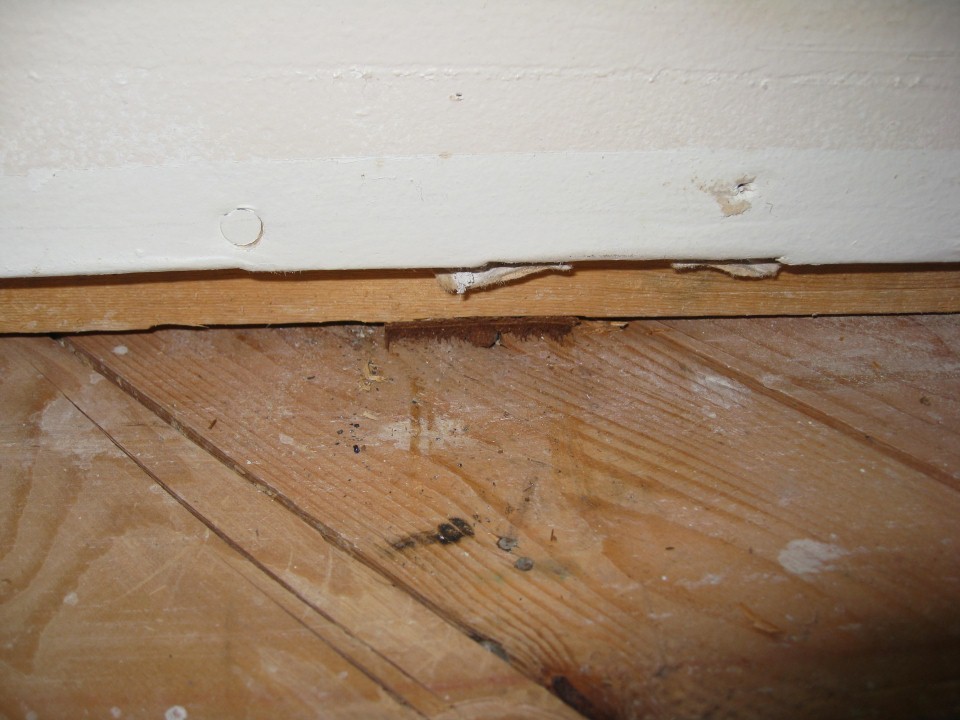
For example, one was a persistent squeak somewhere in the living room. Maddening!. If you walked within 6 feet of it from any direction, it would respond to your every footstep, so the then current solution had been to arrange furniture around it. The previous owner had tried to deal with it, but judging from his other work here, well… he was kind of an idiot. I mean, I pulled 6″ Ardox spikes out (pic further down), as well as a forest of screws and nails in the sub-floor, and none of it worked!
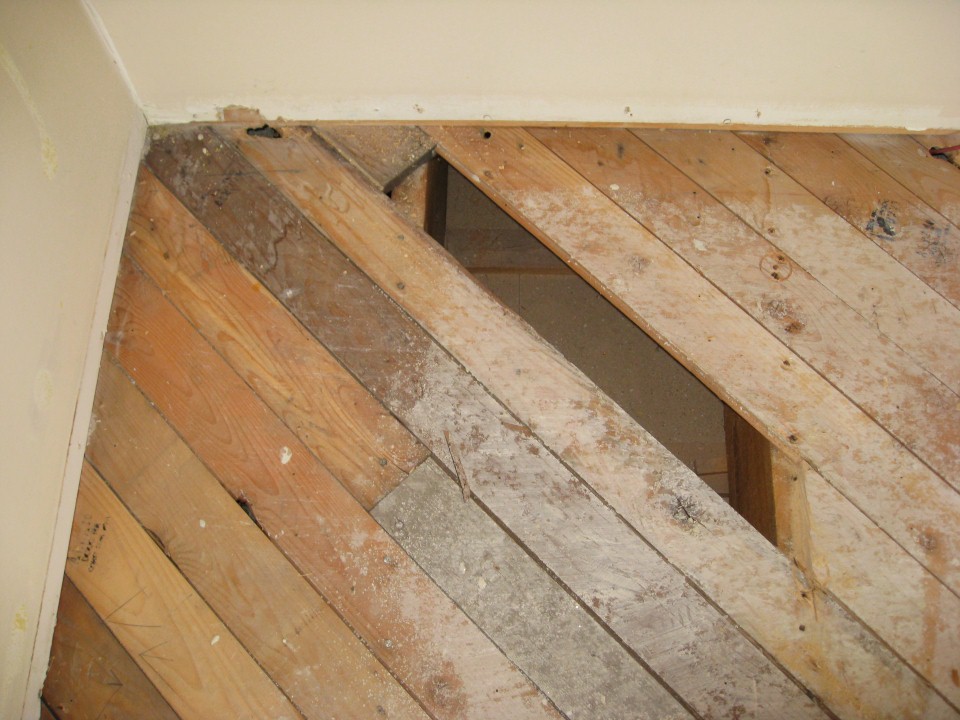
 In the end, a simple wedge under the wall finally cured it, and what a relief that was after 15 years of living! You can hardly see it there – middle frame – just a simple cedar wedge tapped in under the base plate of the wall and snapped off. During construction, a nail through the base plate had missed a joist and with every move the floor made the wall acted as a huge sounding board, making the origin quite hard to locate.
Others annoyances were from various leaks over the years, but I will get into detail later… and with pictures! I’m just setting the stage here.
An inevitable result of renovations is the chaos and turmoil it throws into the household. Everything that had a home is uprooted, routines are upended, and the constant need to adapt adds stress no matter what you do, so it is important to have a plan of attack. I’ve seen some folks that have done a little bit here and a little bit there, finishing none of it, with the end result a mess of work with so many loose ends they lost sight of where to start again.
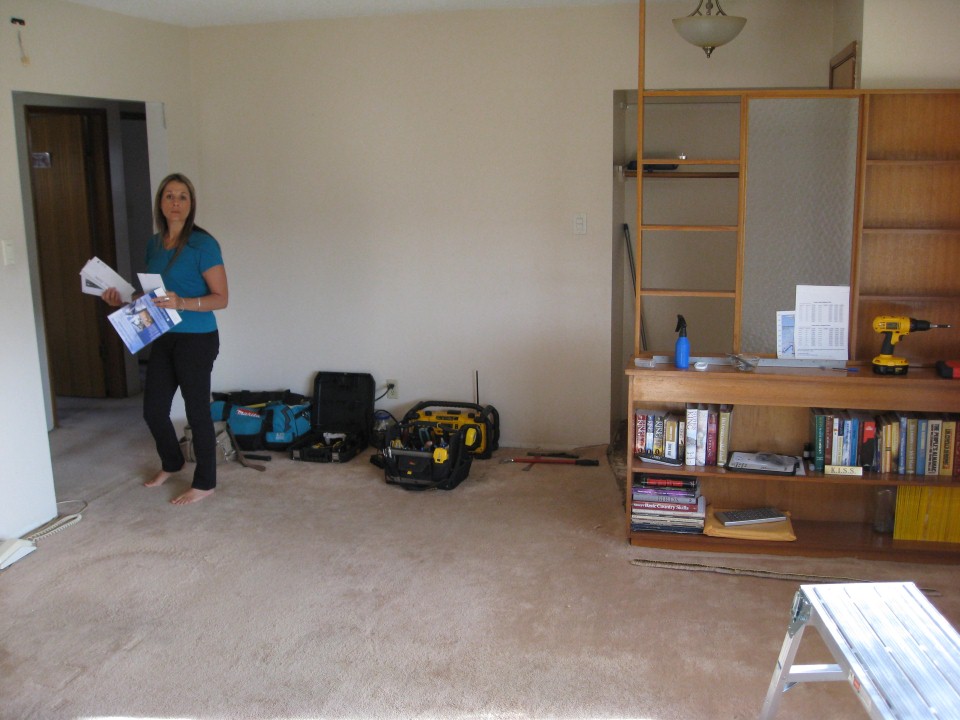
 I chose to do one room at a time, or separate the house into different zones while renovating. First, everything in the area gets removed. Everything! Yes, we had a piano in our kitchen for a while, but elbow room is paramount! You can’t get anything done when you are stepping around stuff all day. Next, another room was designated for storage of everything else. After that, nothing was done anywhere else until a punch-list of that room was completed. FYI, a punch-list is an industry term for deficiencies, or incomplete tasks.
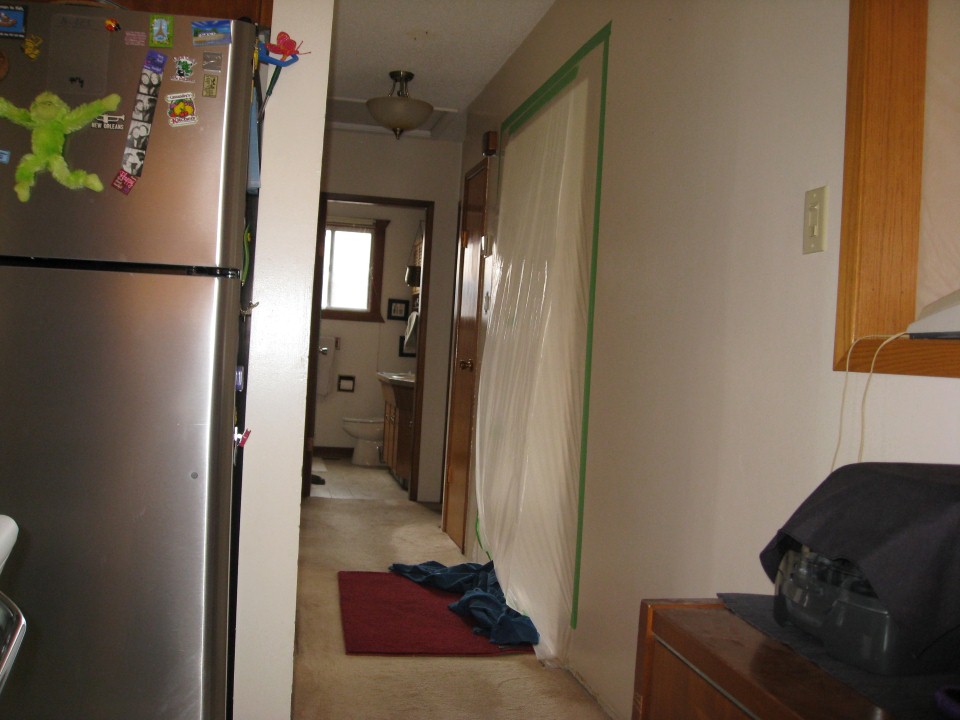
To deal with the dust that comes with any renovation, each room was sealed off as best as possible from the rest of the house. I knew how to make a fairly airtight entryway with plastic sheets, so that is what I used where there wasn’t a door that could be kept closed.
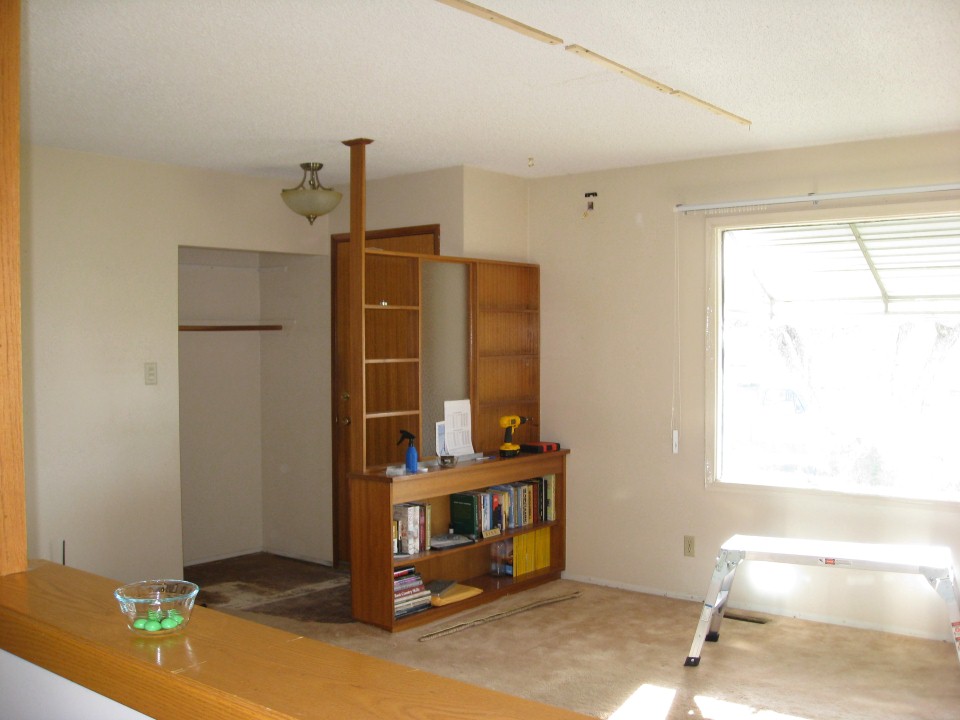
The Living Room
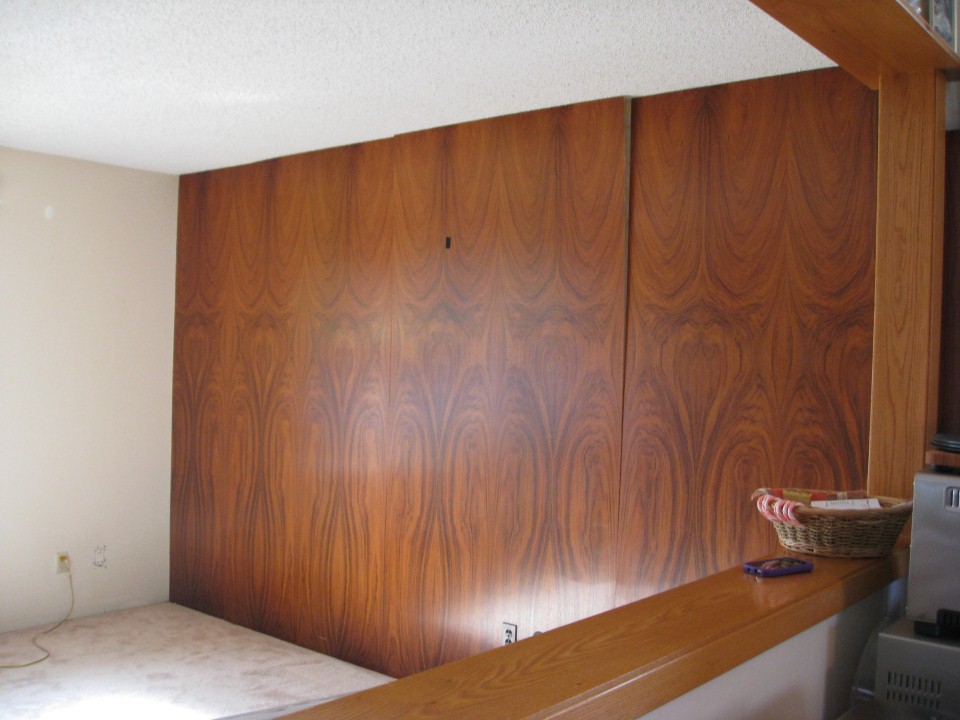

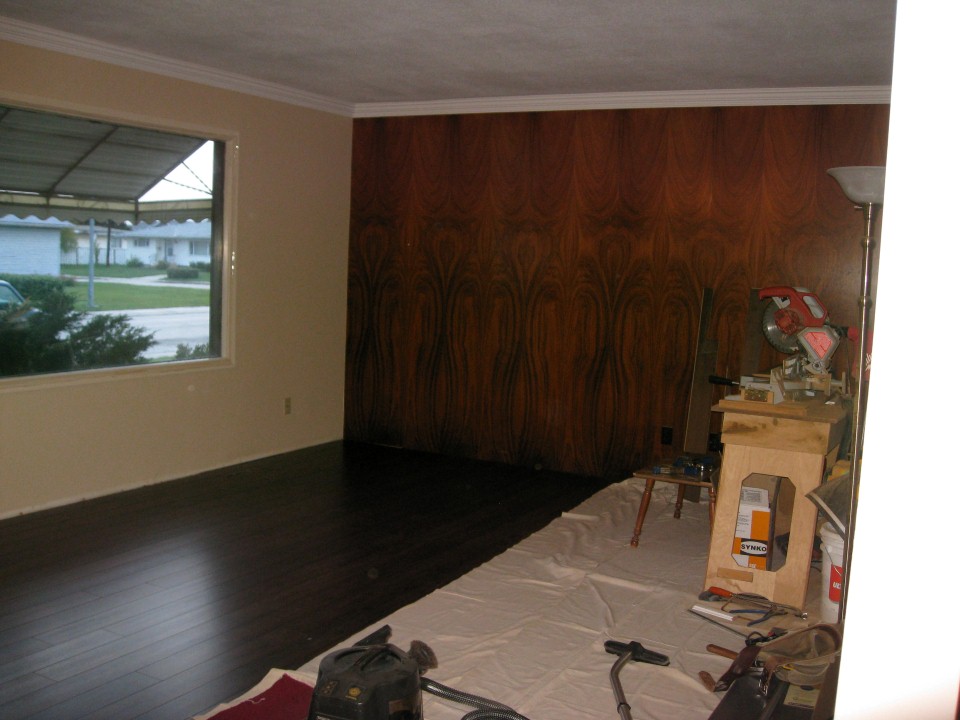
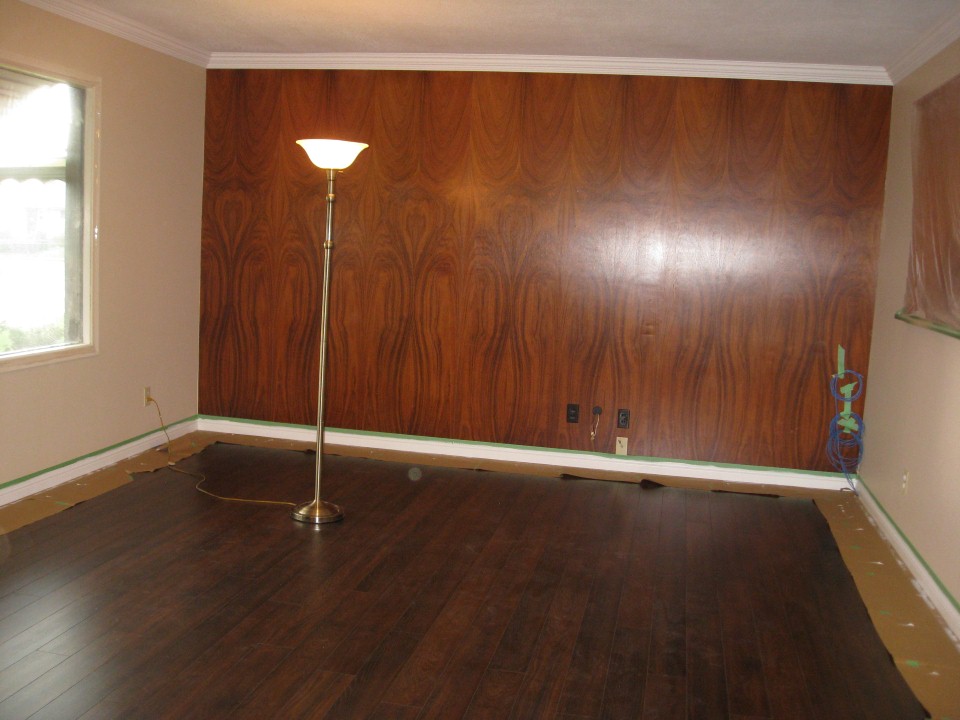
The living room had a bunch of issues to be solved. Speaker wires needed to be installed into the walls, the glue on the feature wall had failed over the years, and the carpet was old, and while in relatively good shape, the underlay was toast. The carpet was removed first so I could set up shop and get at that annoying squeak. I can’t even remember what I did with the old carpet, but out it went so I could figure out what my next move was.
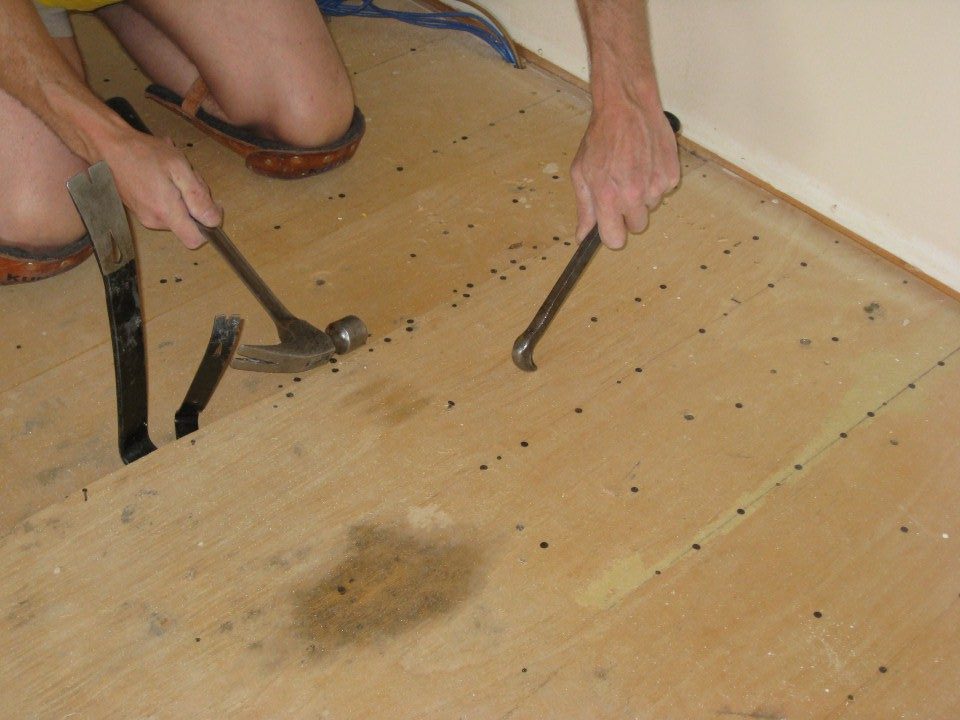
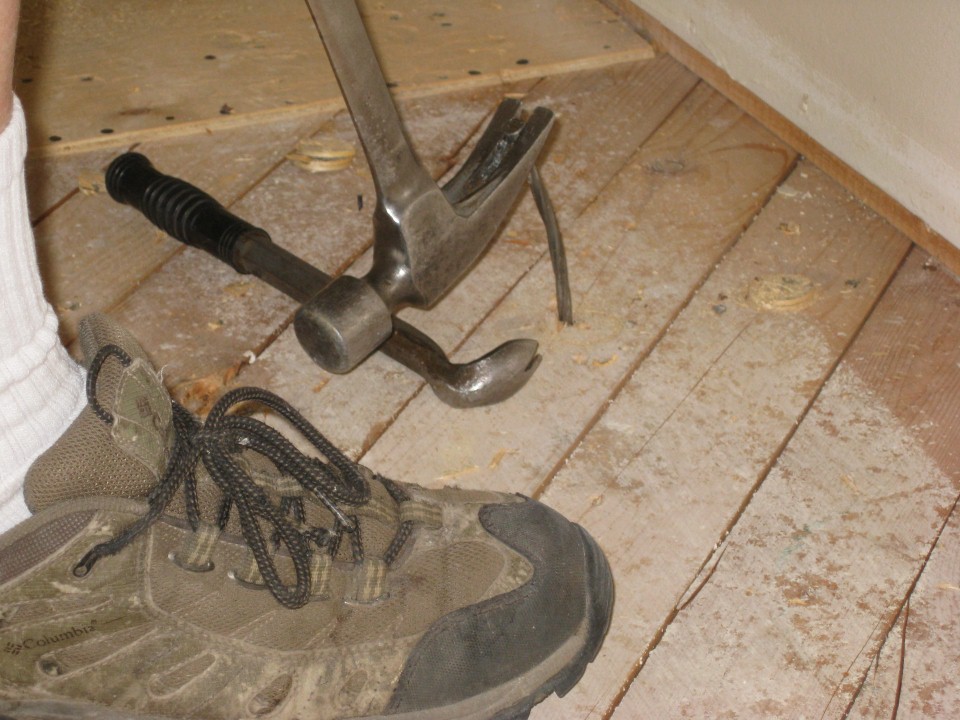
This is when I discovered the forest of nails and screws Elliot (prior owner) had polluted the floor with trying to get rid of the squeak beforehand.
There are lots of renovations shows out there where the host goes on and on talking trash about the work they come across, and I find it rather tiring so I try to avoid it myself, but… I mean… just look at that! Did you think I was kidding about the 6 inch spikes? Nope! And there was more than one.

Patience was key here to get the underlay removed without destroying it. Finding the root of the problem was easier once all the other attempts were out of the way, and as stated earlier, a simple wedge under the base plate ended up being the answer.
From there, I moved onto the home network, which had been Jerry-rigged up until this point. I didn’t want to tear apart the wall, so I fished it up through the flooring, and taped it out of the way to be dealt with later.
There was quite a bit of work to be done with the living-room ceiling, which had a leak at some point in the past. It had soaked a roof joist, which had warped, and then dried that way, and was a major challenge to resolve. Much of the work of this ended up being in the attic, where I cut saw curfs into the offending joist, and using levers and connecting straps, sucked it up and hung it from the roof truss above it. There are no pictures of this as it was an utter bitch of a job, in the attic in summer, laying on insulation, with little room to access or move back and forth. Every step had to be planned out in advance for the task at hand, with one entry and one exit. A camera just wasn’t part of the plan.
Before I began any of it, I strapped the ceiling so the drywall wouldn’t pop when I sucked it up into level. I was trying to solve problems, not create more.
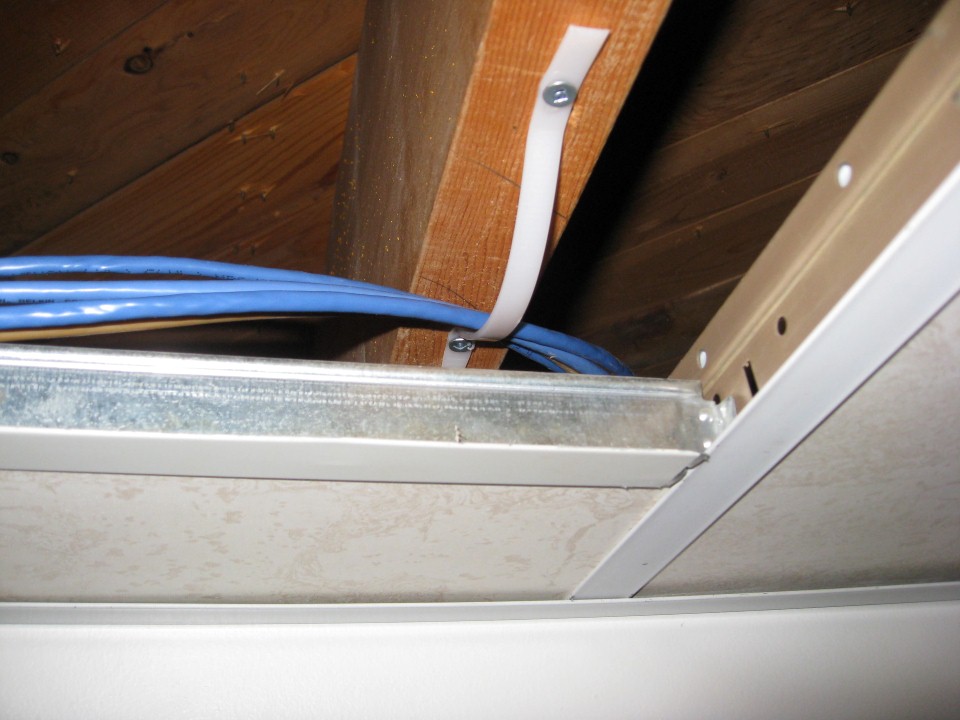
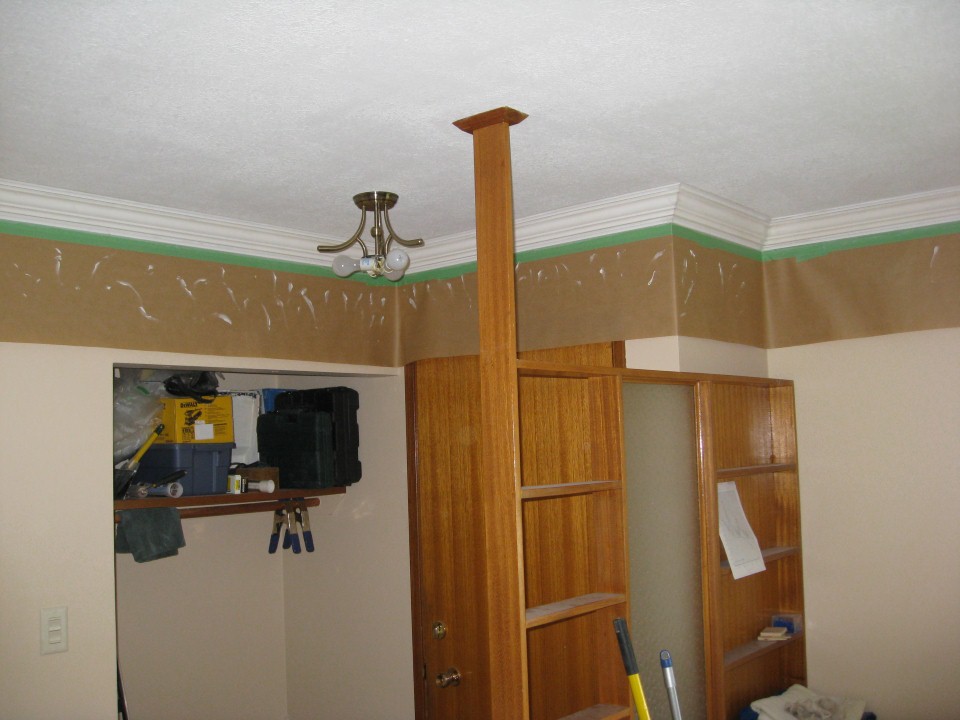
 There were other jobs in the attic than just the ceiling repair. While up there, I pulled in the TV cable and speaker wires for my surround sound, and fished them through the other walls where needed. On the feature wall, I cut out the drywall to add a plugin and cable jack alongside the speaker wires, and because it was covered with paneling, simply taped it over with Tuck tape for a vapour barrier. Not the best shot, but you get the idea. It was an utter rats nest beforehand, now tucked nicely into the wall.
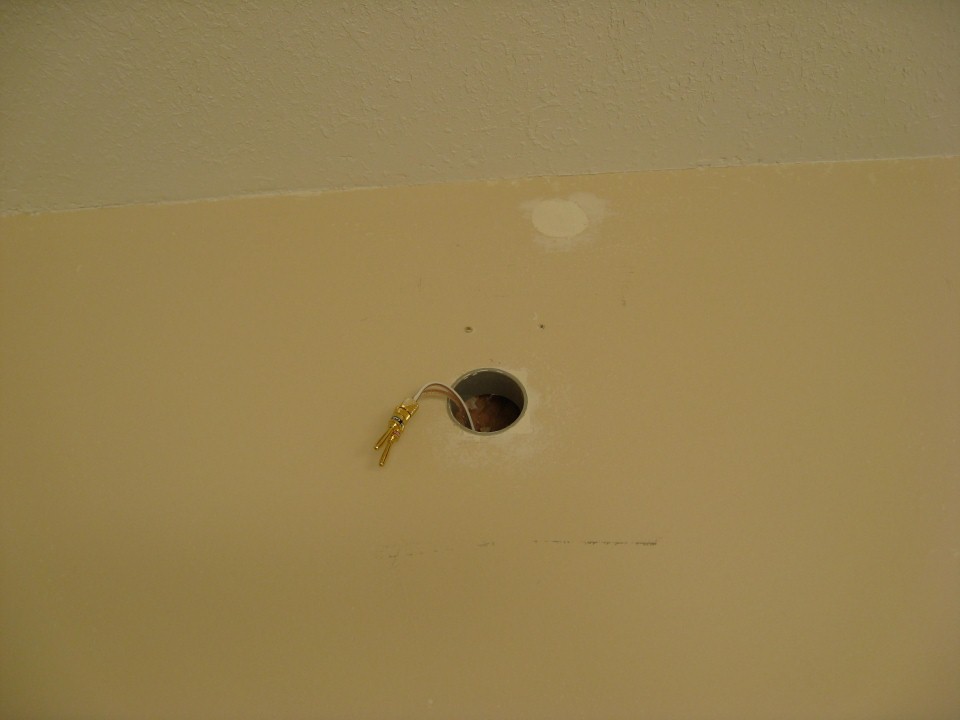
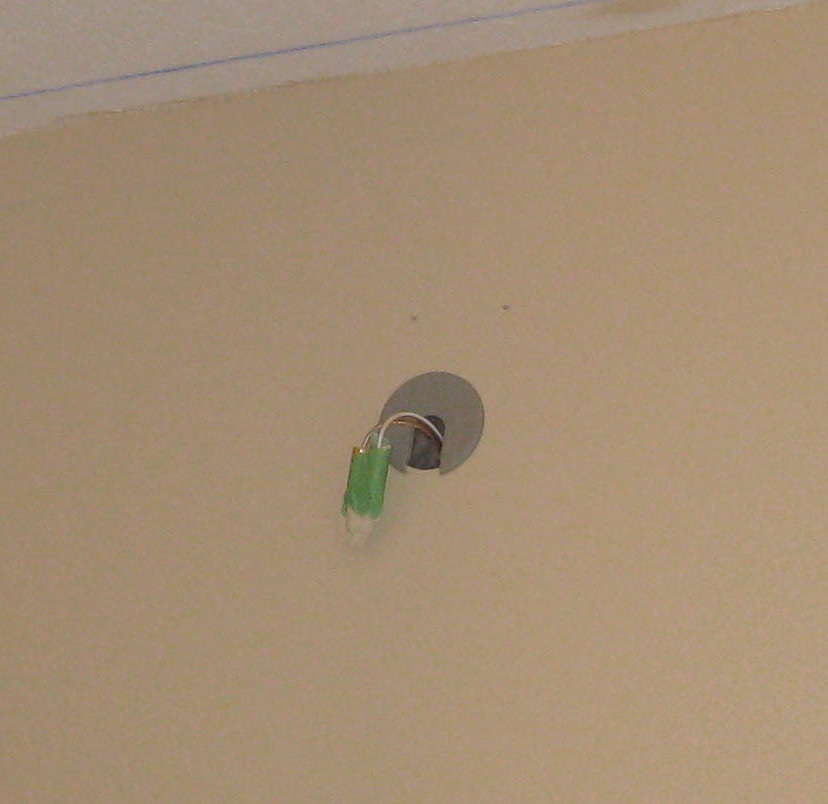
The wall holes were finished using a cutout commonly used in work desks, and plugged up with a circle cut from a drywall sanding sponge. A small slit was then made for the wires, the hole was finished off with the cover that came with the cutout, et voila! Purdy.
Back to the ceiling, it was ready to begin filling and levelling, which still took quite a bit of mud, and more than one layer. This is coat three.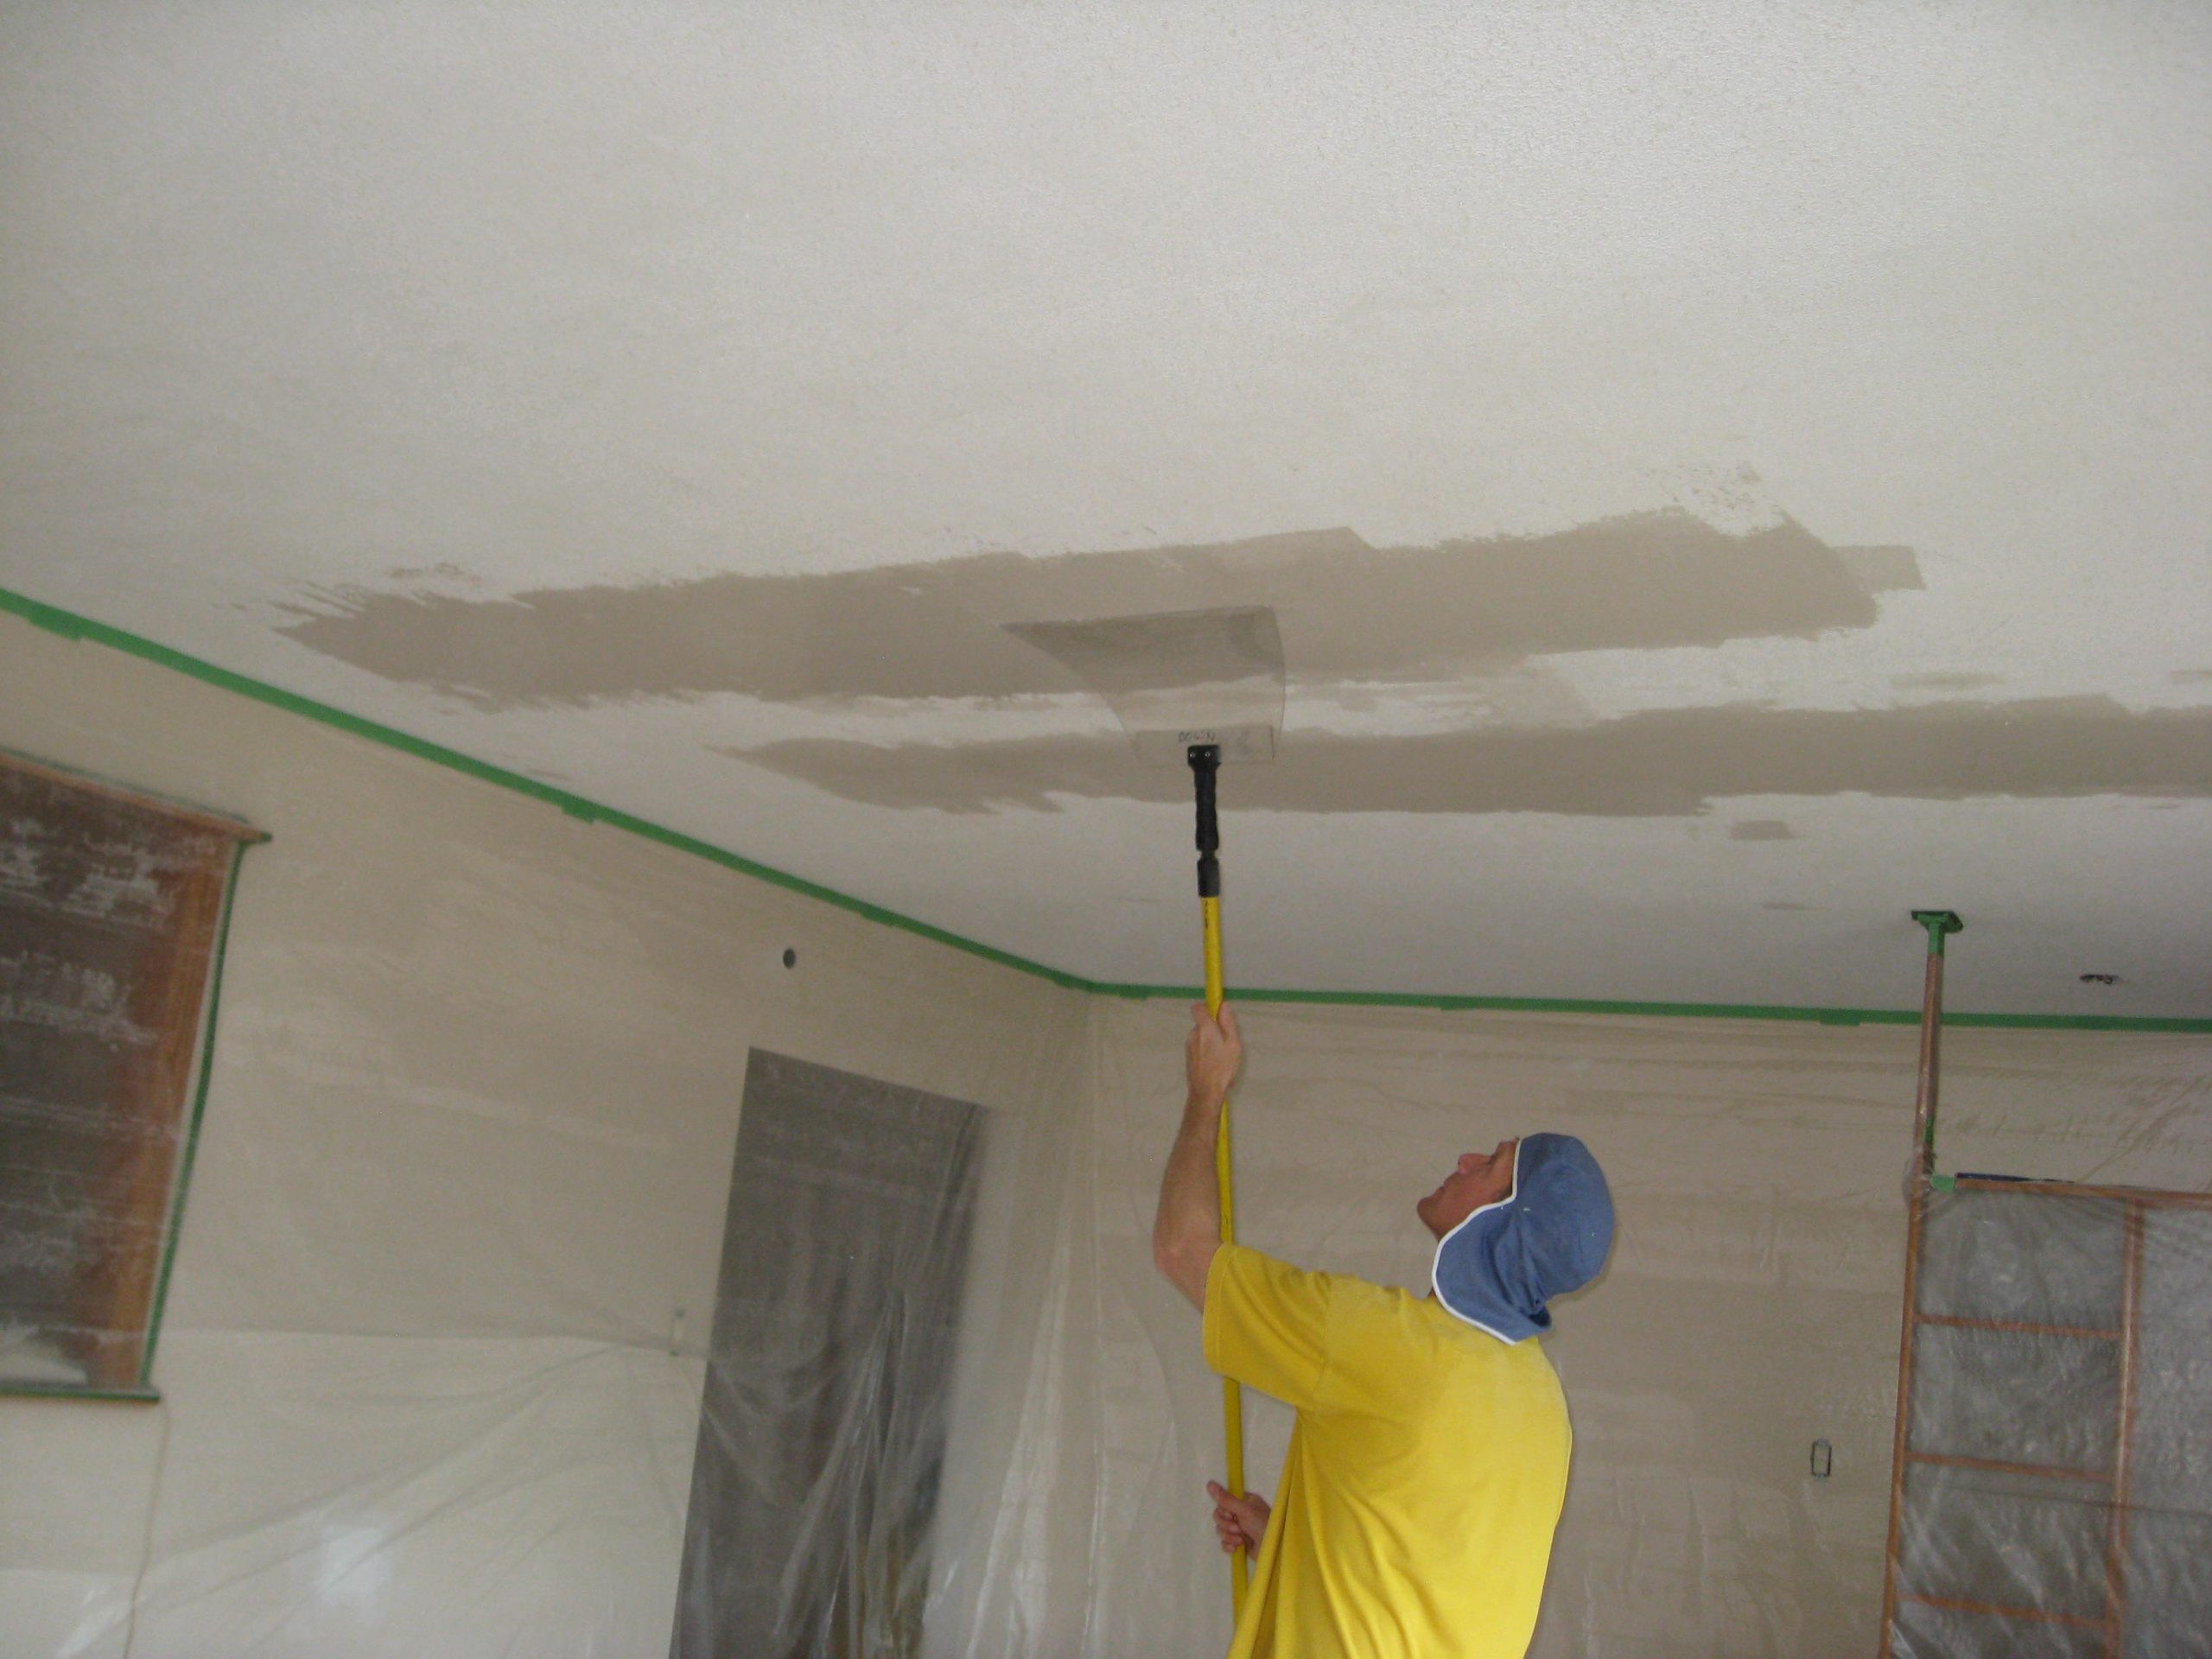
While that was happening, I went over the walls, filling and sanding, prepping for paint.

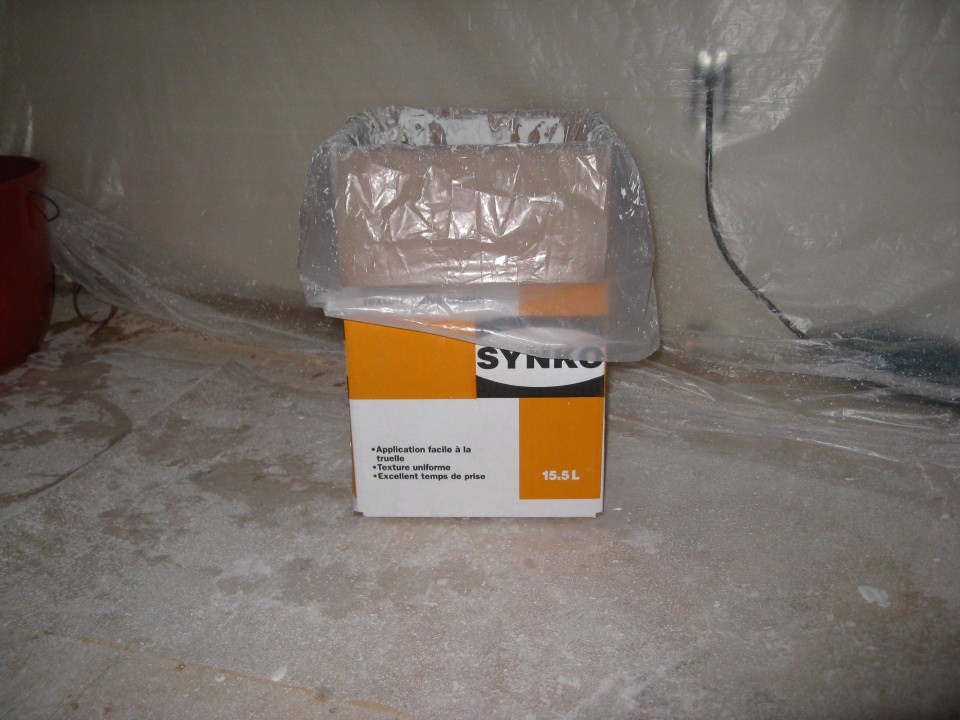
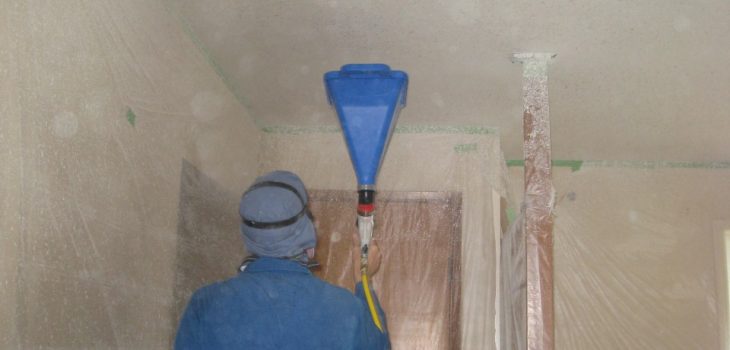
Then I was finally ready to begin filling in the rest of the ceiling. I had scraped all the stucco ‘nubbins’ off, but needed a flat canvas to spray the knock-down on. The next step was to trowel the ceiling in with Synco, and sand it smooth. In general, this could be done in three stages, which sounds a lot faster than it was, but each subsequent step was less and less work until ready for the final step, which was to put the texture to it.
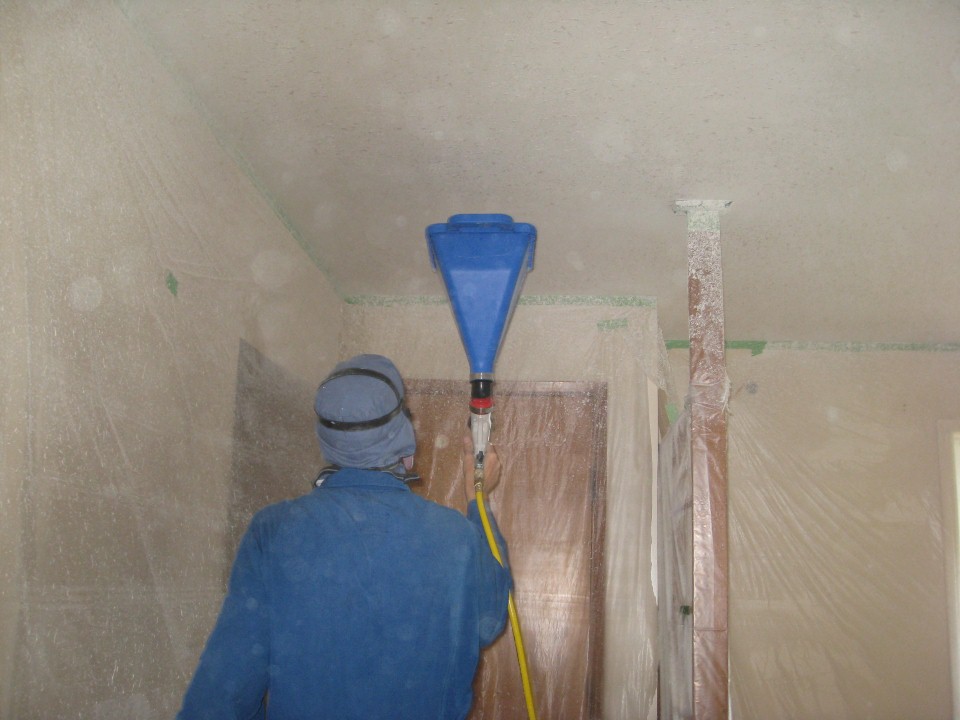
Keep moving, focus where you are, check your feet, and don’t squawk about a tired shoulder. Switch hands.

Then run the goofy ceiling trowel lightly back and forth, cleaning the edge with a trowel every time.

Considering that I had never done this before, I think the results were pretty good. I’ve had the opportunity to stare at it from the couch for a few years now, and it’s still holding up, without huge flaws yelling at me. Keeping a consistent pattern from room to room is important also, as you can see the kitchen ceiling from the living room, and vice versa.
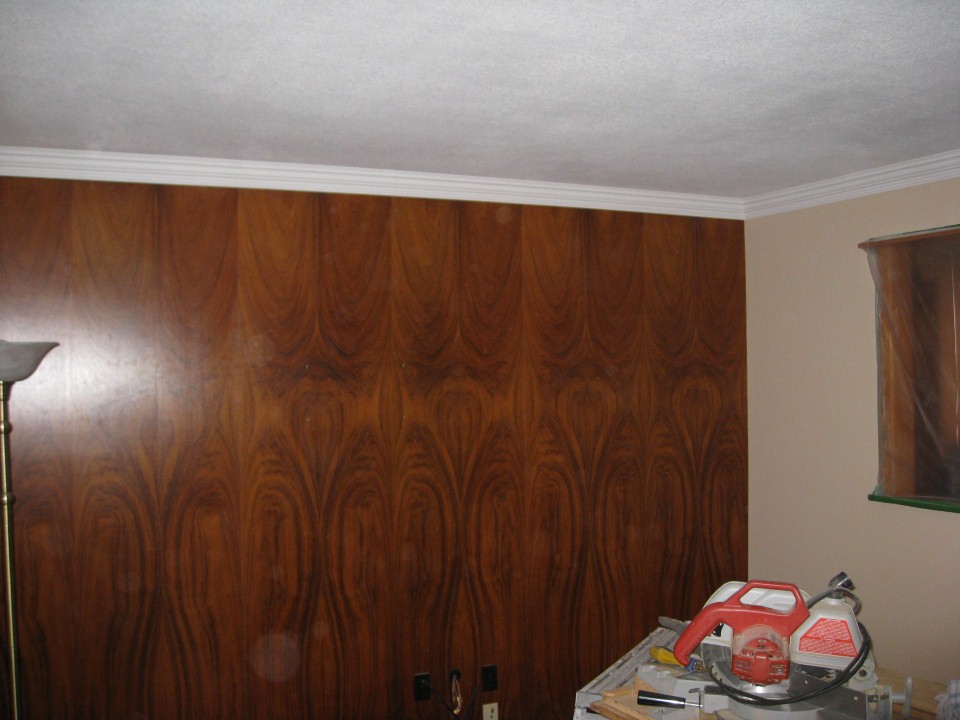
Next came paint in the form of flat white, which was another challenge altogether. I don’t paint enough to have a sprayer, so had to roll it on, but the results were good, and worthwhile. Bare mud looked OK, but painted was the bomb. A five gallon pail of it did the whole house, crown moulding and all – which, after painting the walls, was the next step.
Painting the walls was uneventful and boring, like most painting is. It was nice to not have to mask everything first, except for the divider, and I didn’t have to worry about drips or go right to the ceiling because I was putting up crown moulding. Easy peasy.
Crown Moulding
Like most people, I don’t like spending money I don’t have to, but built up crown moulding looks way better than just a single piece. What I did was purchase 3 1/4″ x 10′ plain baseboard in bulk from Rona, along with 10′ sections of crown moulding, and did some milling of my own. I ran the plain baseboard through my router to shape both edges, and then ripped it down the middle to get two strips. Once done, I painted it, sanded it a tad, and then carried it all inside where I set up shop.
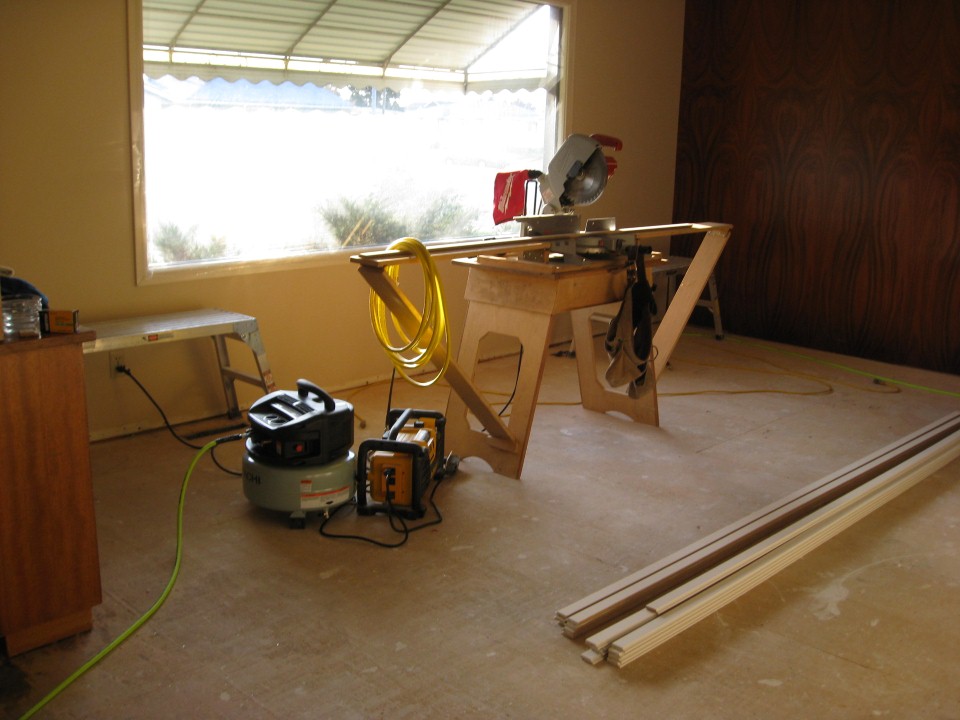
It took some thinking to manage 10′ strips of floppy 1/2″ trim, but once that was figured, it became a process.
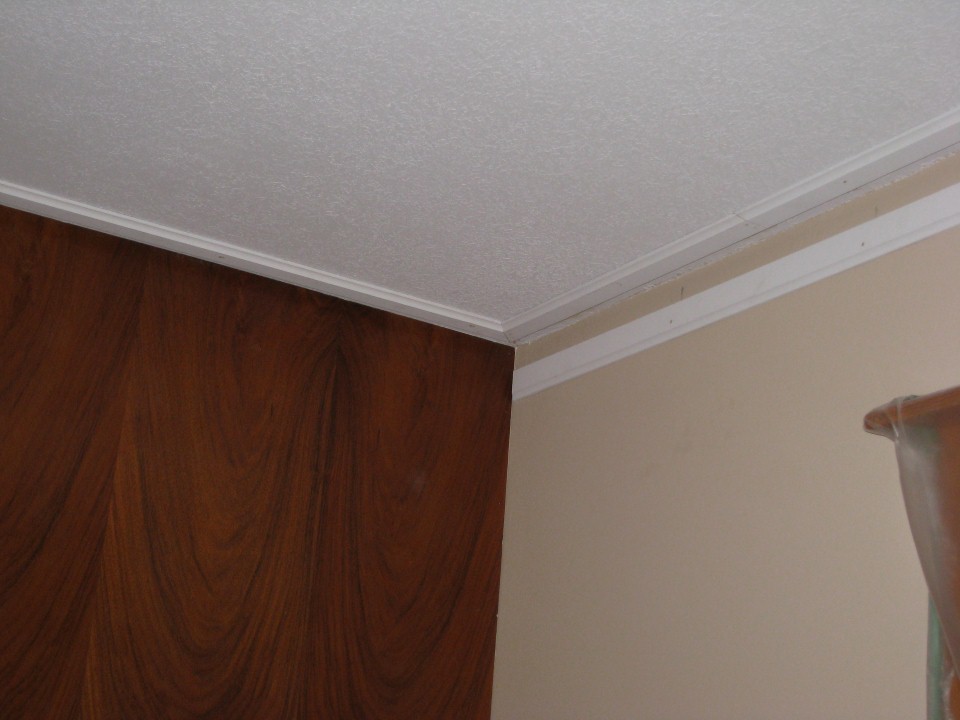
First the ceiling, then the walls. Ceilings are not smooth or flat, by the way. There were places I had to file away a significant portion of the backside of the trim just to get it to sit flat, but these are the things you learn along the way.
Cutting the inside corners with a coping saw was an exercise I hadn’t done since N.A.I.T. but it came back quick enough, and where it wasn’t sweet, there was caulking for that. This filled every crack along the ceiling and wall, and really made all the difference in the end. Once the nail holes were filled and sanded, a few coats of paint finished it off, and down came the masking.
I was pretty happy with it, even starting to think I knew what I was doing, but the work had only just begun, because next up was the hallway.
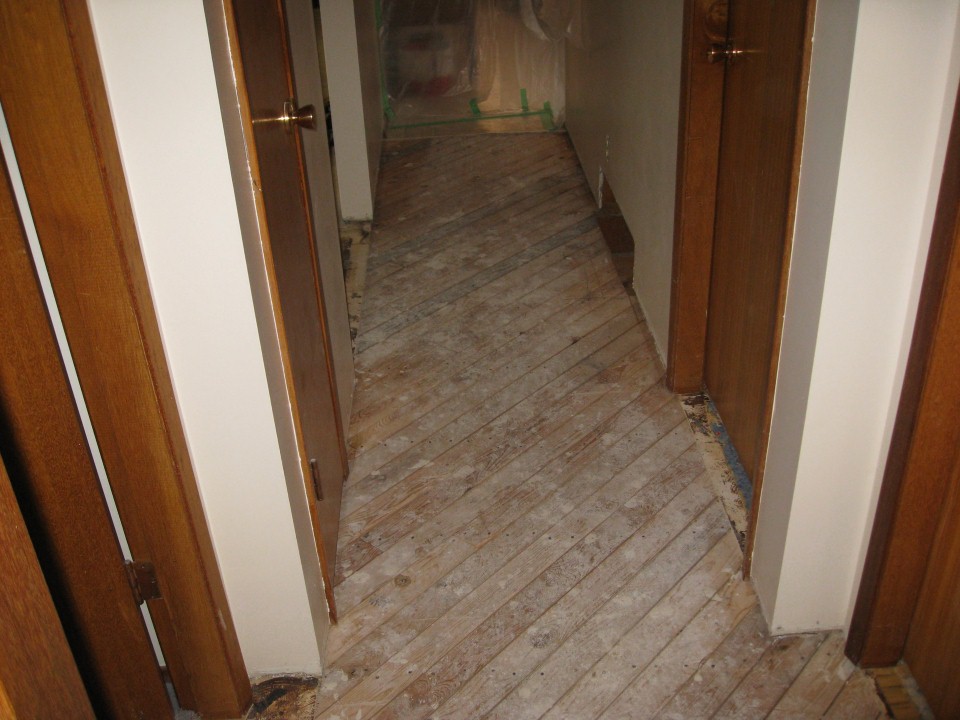
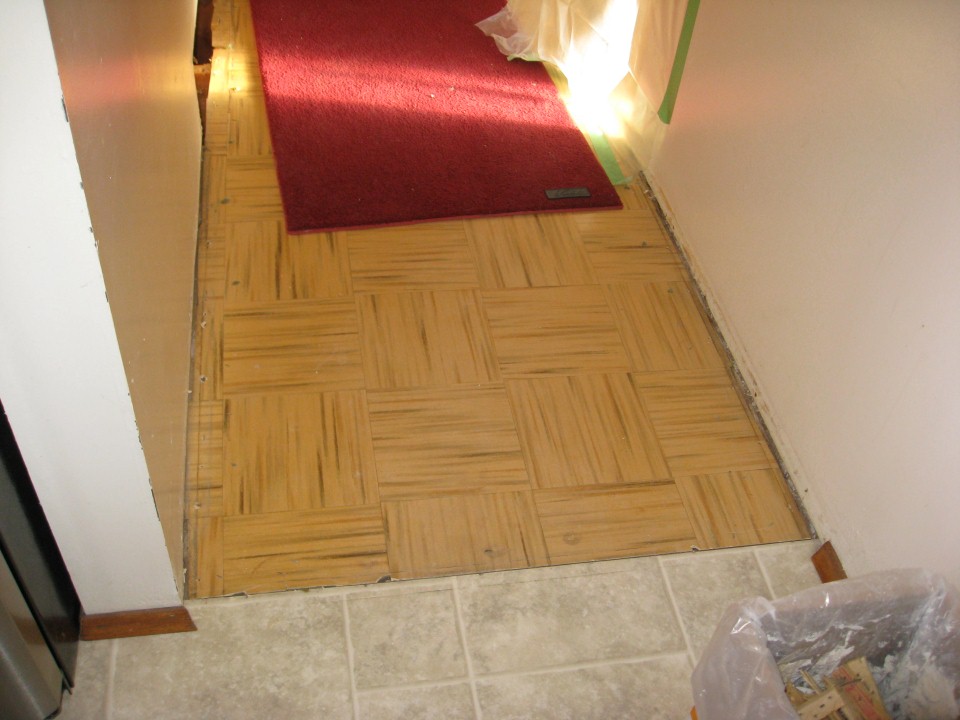 I think the first error I made here was in thinking I should remove the old tiles. Not only were they the old asbestos type, but some of them were still stuck on pretty good, and others popped up with no fight at all. Once you had one removed, you had to remove them all, and so I was committed to the process, for the hallway at least.
It took a long … time … to get down to the subfloor, where I went over it with a hammer, and some 2 1/2 ” screws getting rid of the squeaks. Removing the old underlay was the faster way to remove the tiles, and frankly worth the cost of new underlay. Anyways….
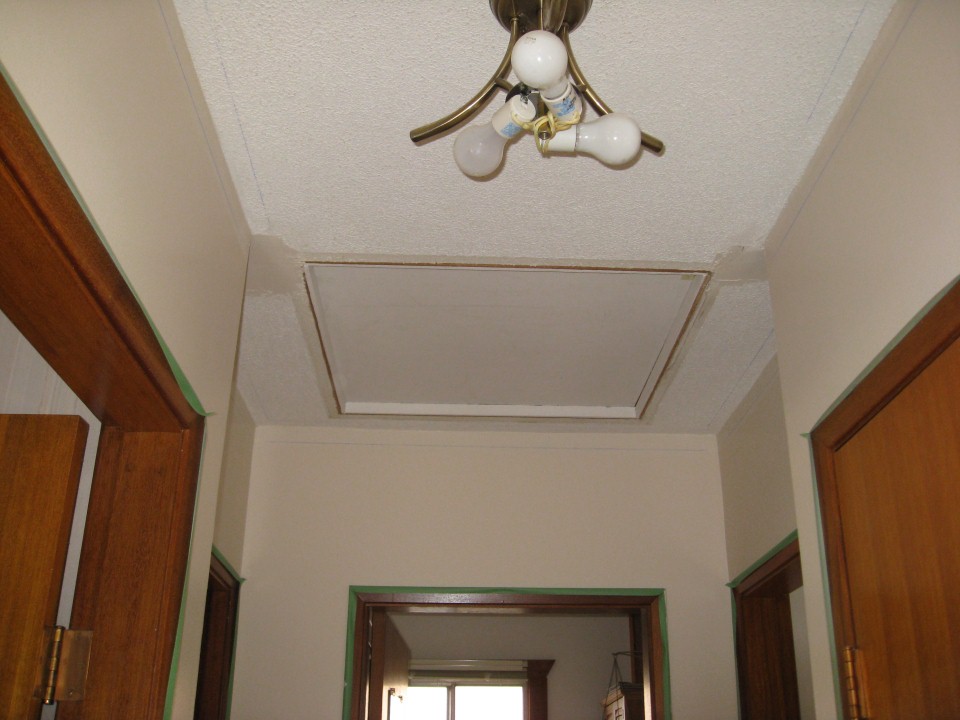
From there it was back to the ceiling and walls, where there was a lot going on.
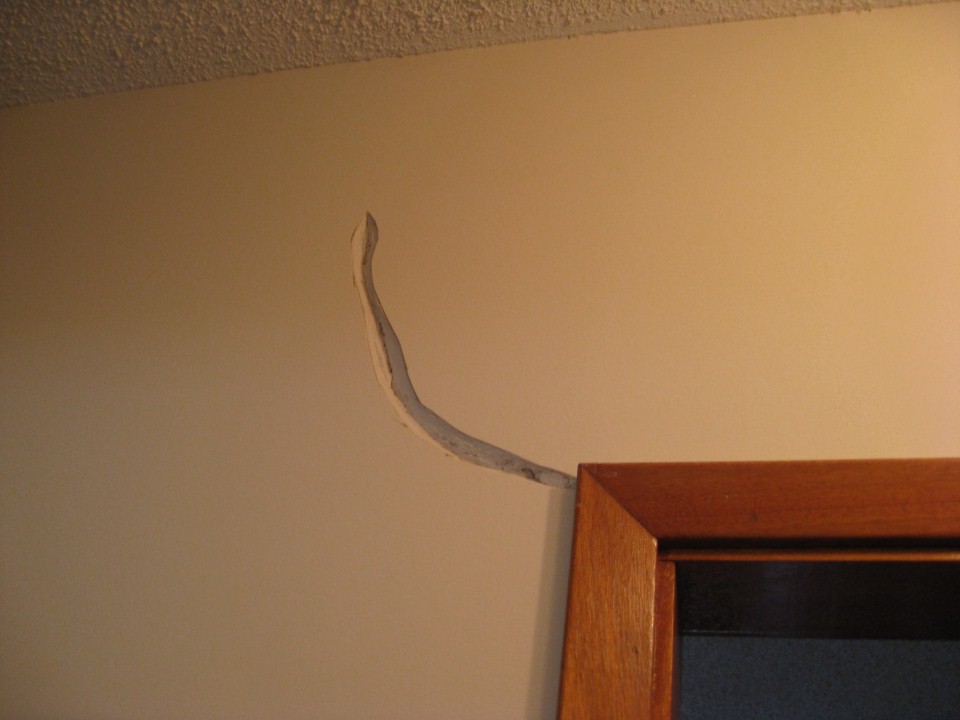
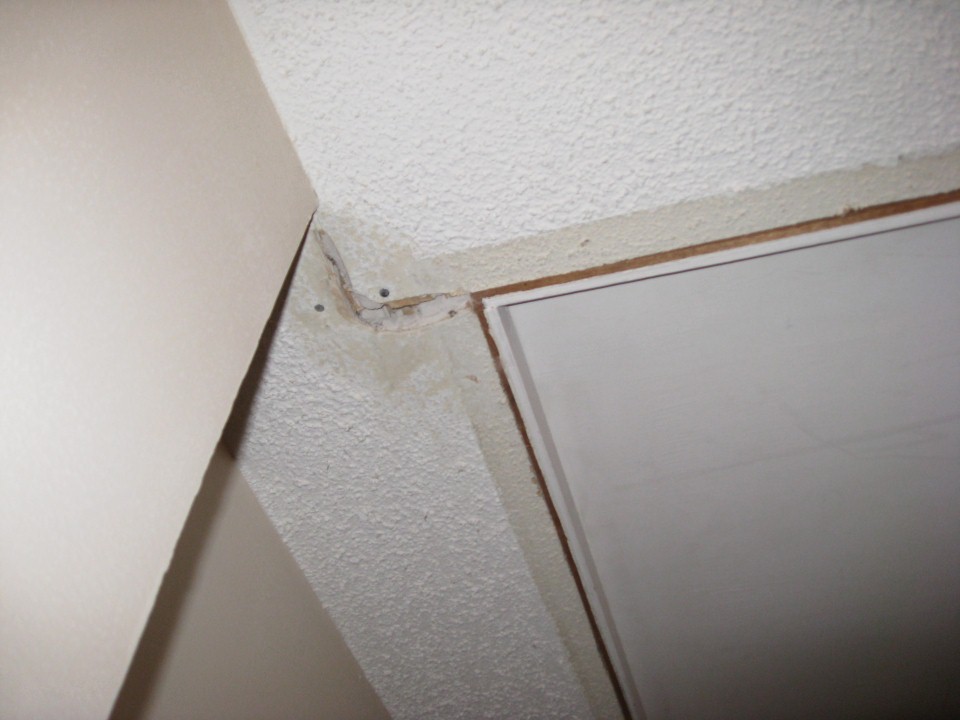 Over the years, the house had settled, and there were some persistent cracks that I had tried to patch up at one point or another. What I had not done was cut it out as you see here, and then add tape over it once filled back in. I am happy to report after several years that none of these cracks have returned, and that was through some pretty harsh winters and humid summers.
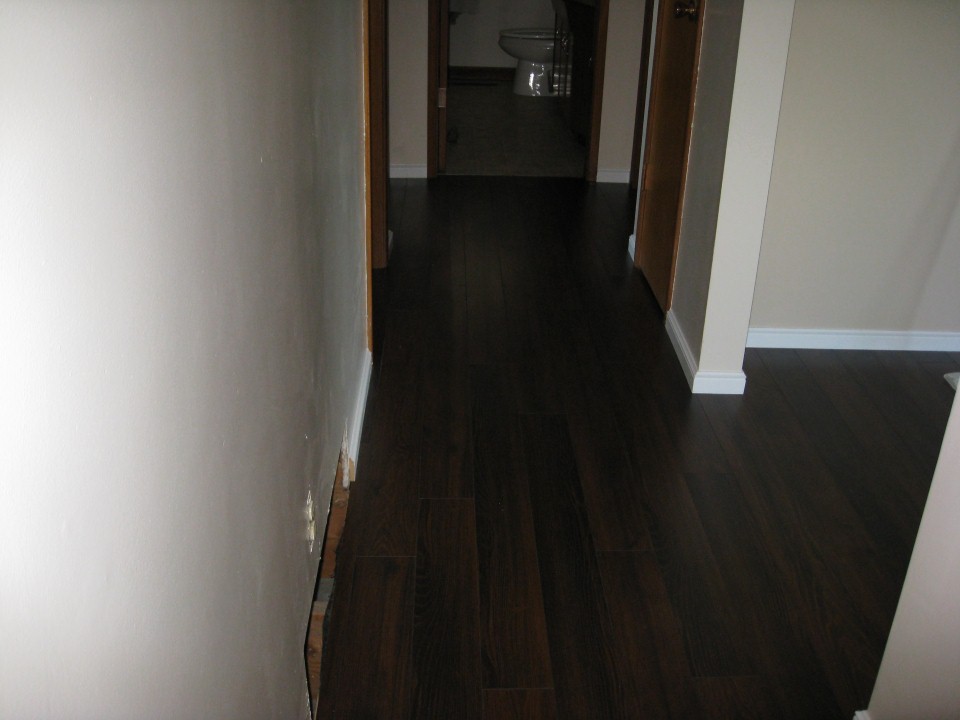
With the hallway painted and ceiling near ready, work moved back to the living room to set the flooring into place.
Flooring
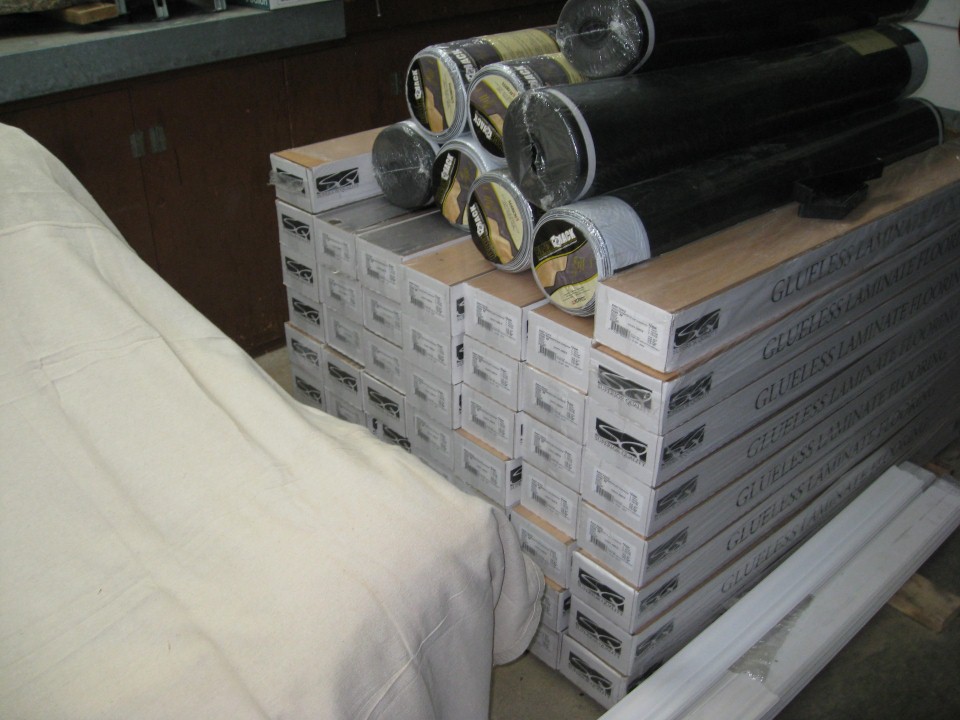
This had been sitting in my garage for some time, waiting for the day it could be put in place. After a thorough vacuuming, the first step is to lay down the foam underlay, which has to be placed one way so subsequent pieces will stick. I went to Golden Flooring here for everything, except for the laminate, which was a seasonal deal at Lowes.
Once the first strip of foam was down, the first few rows of laminate were the big challenge. Slippy, slidey, with not enough mass to sit still, it constantly shifted until I had a few rows down, but then it went in like a house on fire.
I got really lucky in that the width of the wall matched the width of a piece of laminate closely enough that it transitioned the walkway almost perfectly.
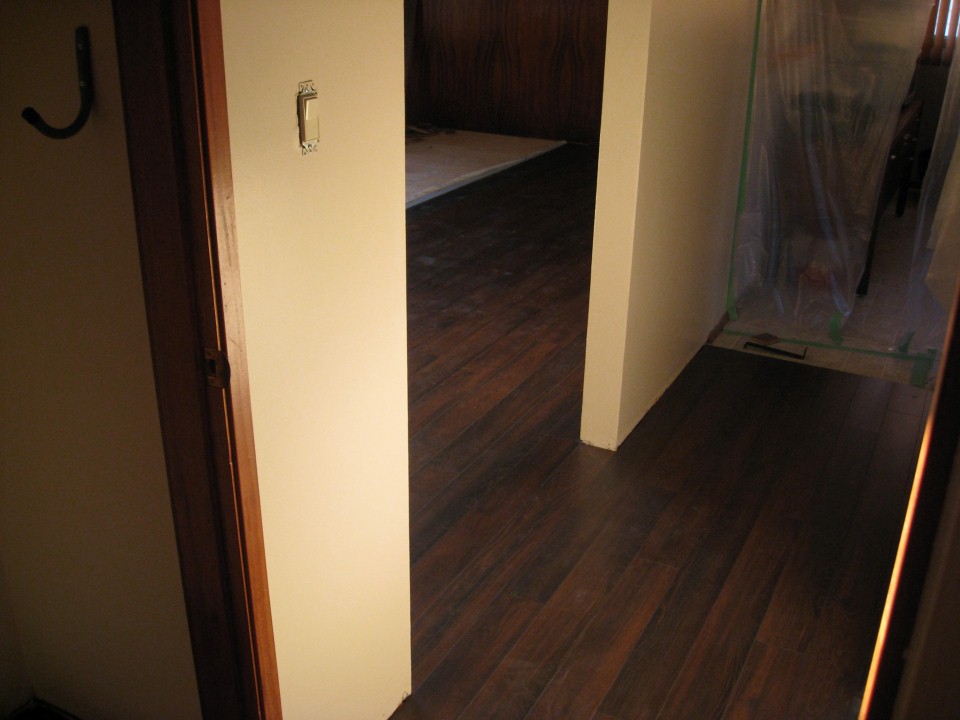
It wasn’t a finished room, but seeing a full floor was a really pleasant site after the work it took to get it there.
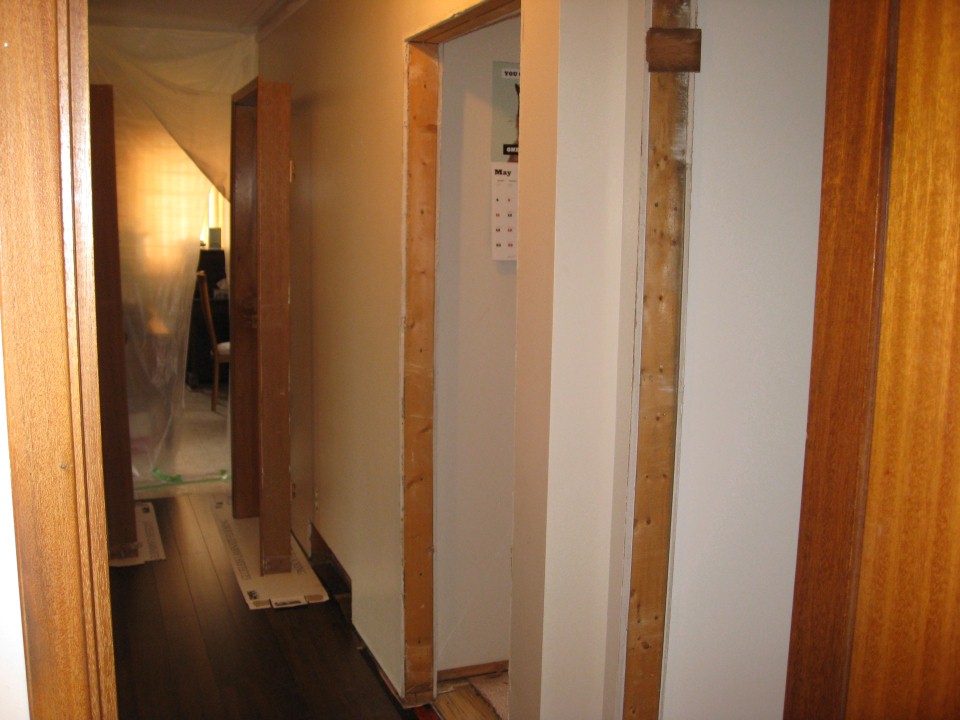
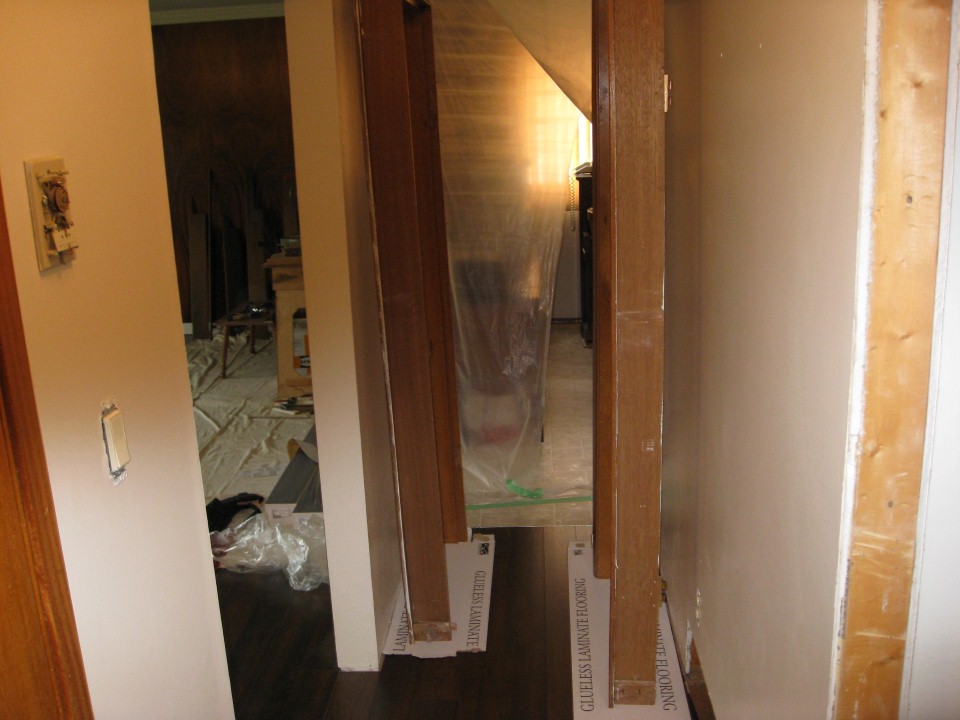
I had a number of headaches with the door transitions in the hallway, though. I had to remove the door frames and doors to install the last pieces of laminate because those pieces were being put in backwards from the rest. It was nothing time and patience didn’t overcome, but I wouldn’t have achieved the monolithic look of a single slab of flooring without it.
In the end, it was worth it, the painted walls survived it, and so I moved on to the baseboards.
The baseboards were more ‘bulk pack’ stock from Rona, which I again milled on one edge, and ripped instead to 2 1/2″. Value add at home, I say. These were painted and sanded again in the garage, and went in without issue. The most difficult part was slipping masking paper below it so it could be painted again….
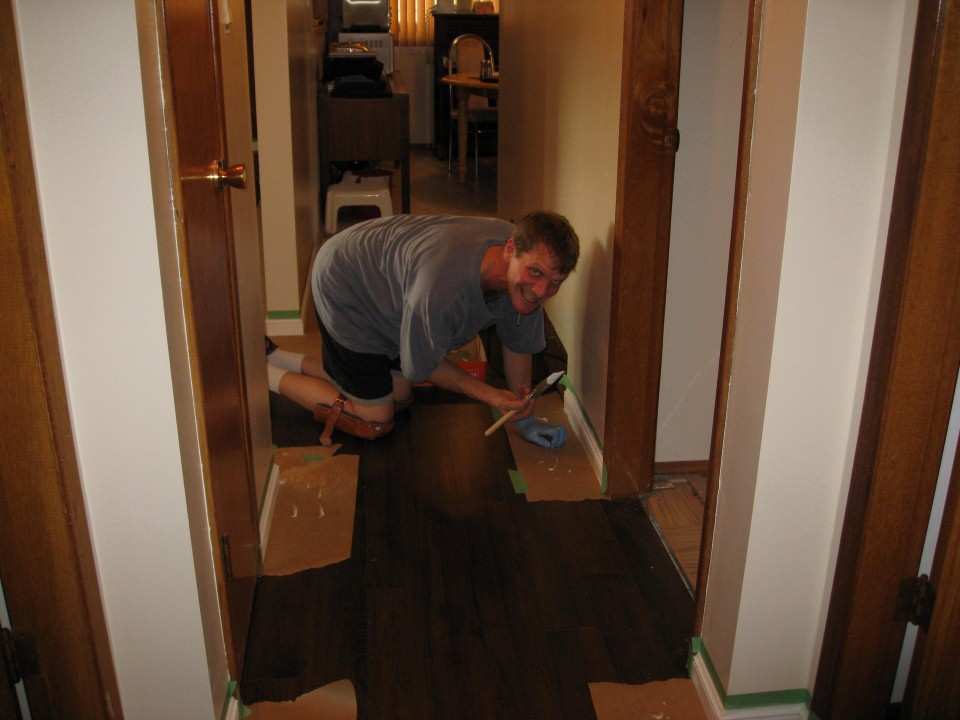
…and there was lots of crawling around with that, so I was quite happy for the knee pads….
…and not losing sight of the end result helped out quite a bit.
Front Entrance
The baseboards could only be done to a point, at which the front entrance was on deck.
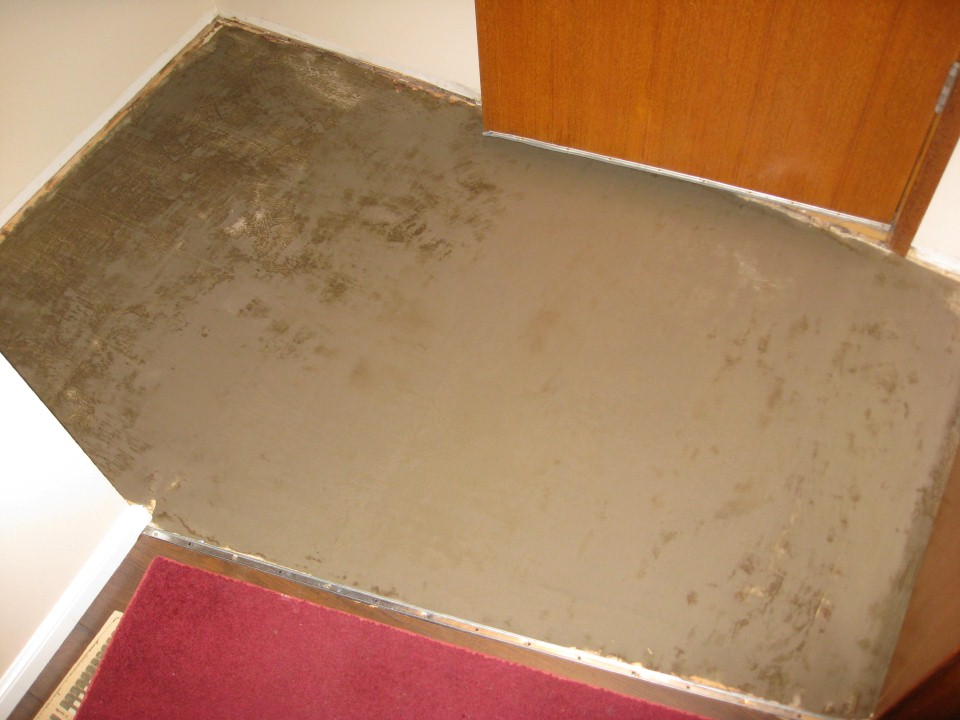
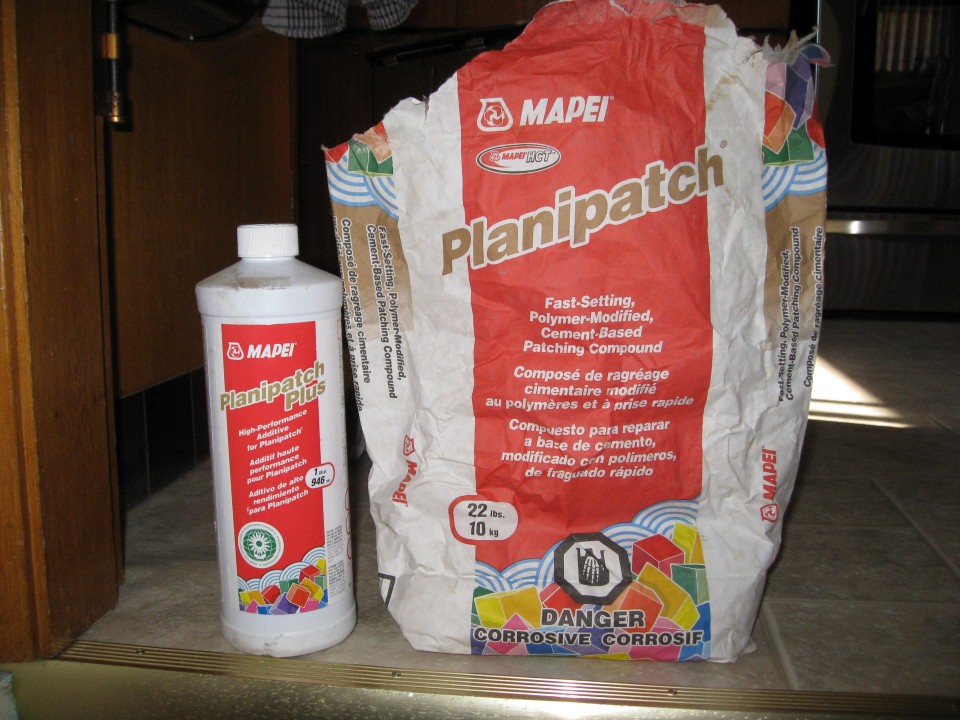
This was simple, starting with a layer of Planipatch, which gets super-hard, super-fast, and levels everything out nicely.
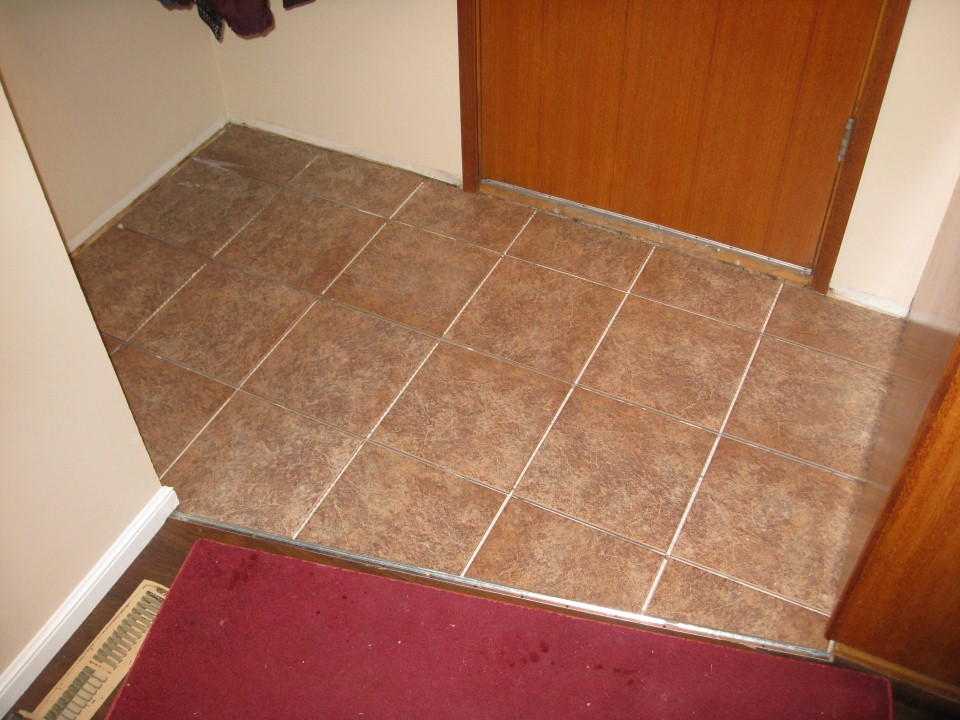
The tiles were straight forward..
Grout, baseboards and transition went in next.
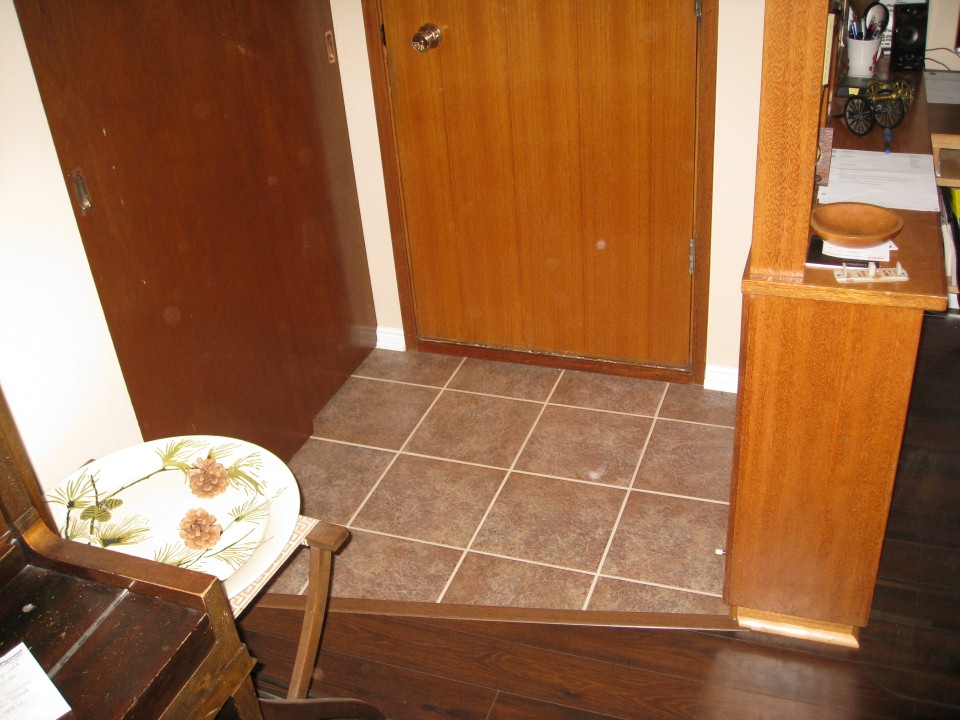
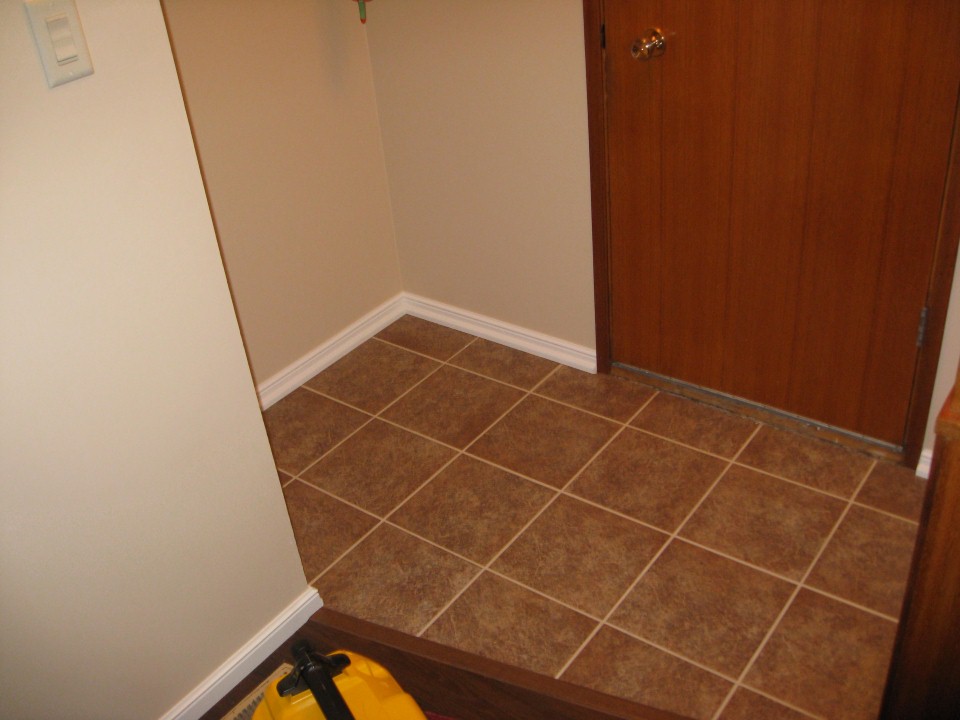
It’s worth it to note that I had to cut the closet doors to fit the baseboards so they would close properly, and a piece of trim was added under the door (both punch-list items) to finish the room, but I added the picture here just to polish it off.
Once the baseboards were done, it was time to start moving things back into the room. Some stuff was in the garage and had to come back in through a window, so a phone call for help was made, and the room started to come back together nicely.
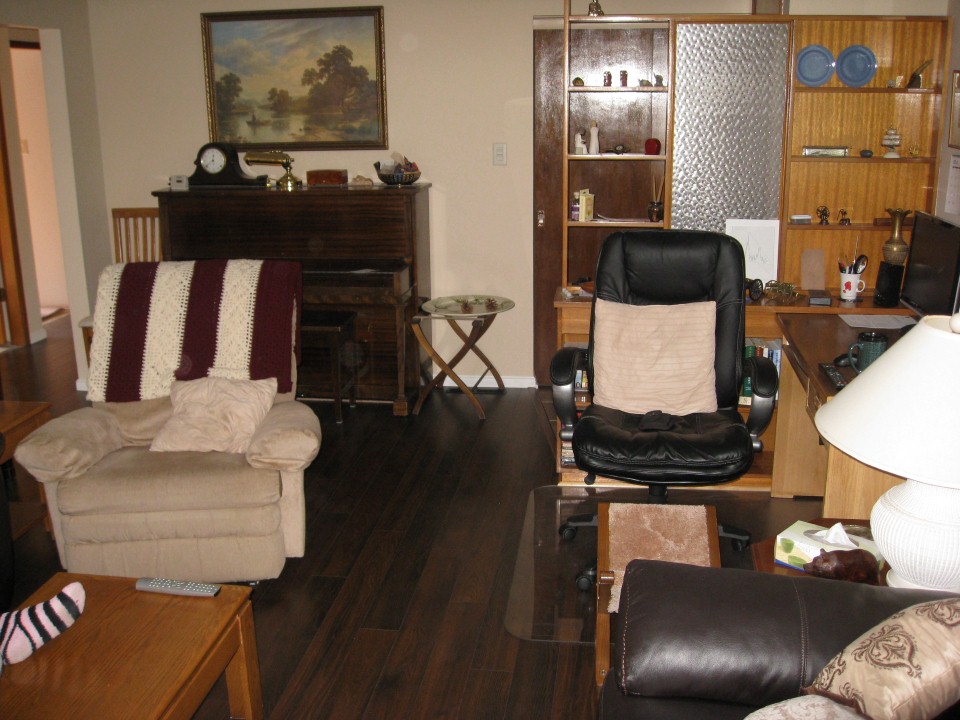
The new space was wonderful to deal with, although laid out relatively the same.
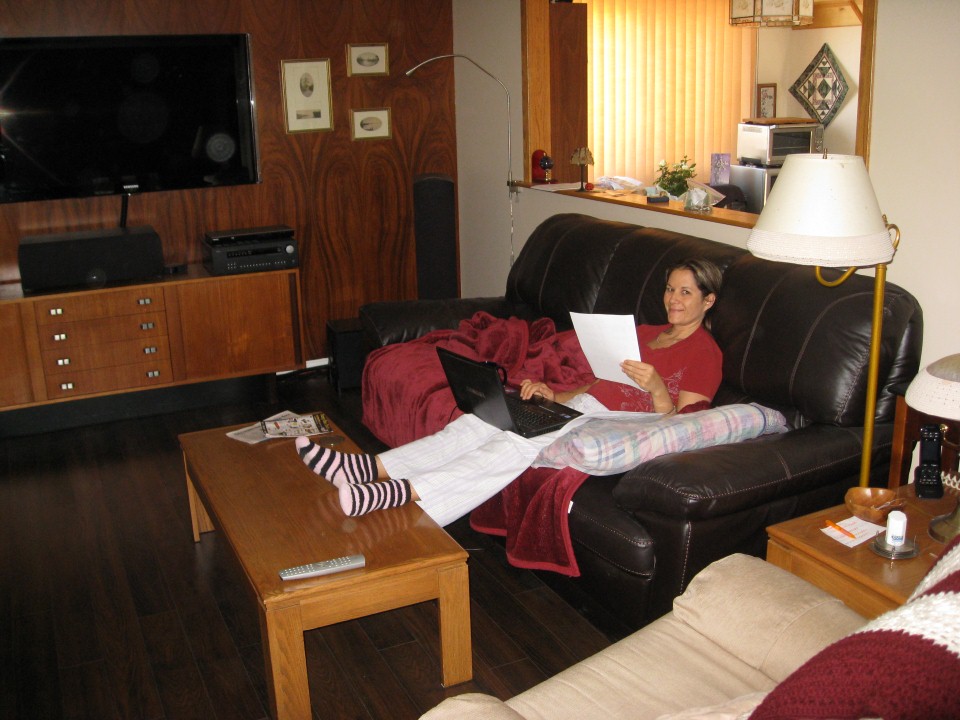
The smile on her face is priceless.

And I could finally take a much needed rest.